It’s time to modernize your agreement process
The world runs on agreements. Yet the process of managing them is ineffective and outdated—leading to delayed and lost revenue, customer churn, and increased legal risk. Meanwhile, valuable data in agreements remains trapped in static PDFs.
We call this the Agreement Trap, and it’s costing organizations like yours time, money, and opportunity.
Docusign IAM helps you accelerate revenue, reduce risk, and unlock value from the agreements that run your organization.
Applications designed to fit every business
Our suite of applications are packages that contain core features built to fit the specific needs of your business and industry.

IAM Core
Built for organizations and industries of all sizes. Save time and get the most value from every agreement.
Available May 2024

IAM for Customer Experience (CX)
Transform time-consuming processes into engaging experiences that build life-long customer relationships and drive scale.
Available May 2024
IAM for Sales
Streamline sales contracting, enabling sellers to create optimal deals more independently, close them faster, and extract more value.
Available May 2024
IAM for Legal
Centralize and simplify agreement processes, freeing resources from the burdens of manual oversight that distract from more strategic, high-impact work.
Coming soon
IAM for Human Resources (HR)
Automate manual employee and candidate agreement processes, so your business can focus more on people and less on paperwork.
Coming soon
IAM for Procurement
Reduce inefficiencies in cross-departmental collaboration, while surfacing powerful insights to maximize contract value, reduce costs, and minimize risk.
Coming soon


One platform. Every agreement.
Our applications include core capabilities and platform services that work together to solve your business needs. Additional extensions are available to customize IAM further.
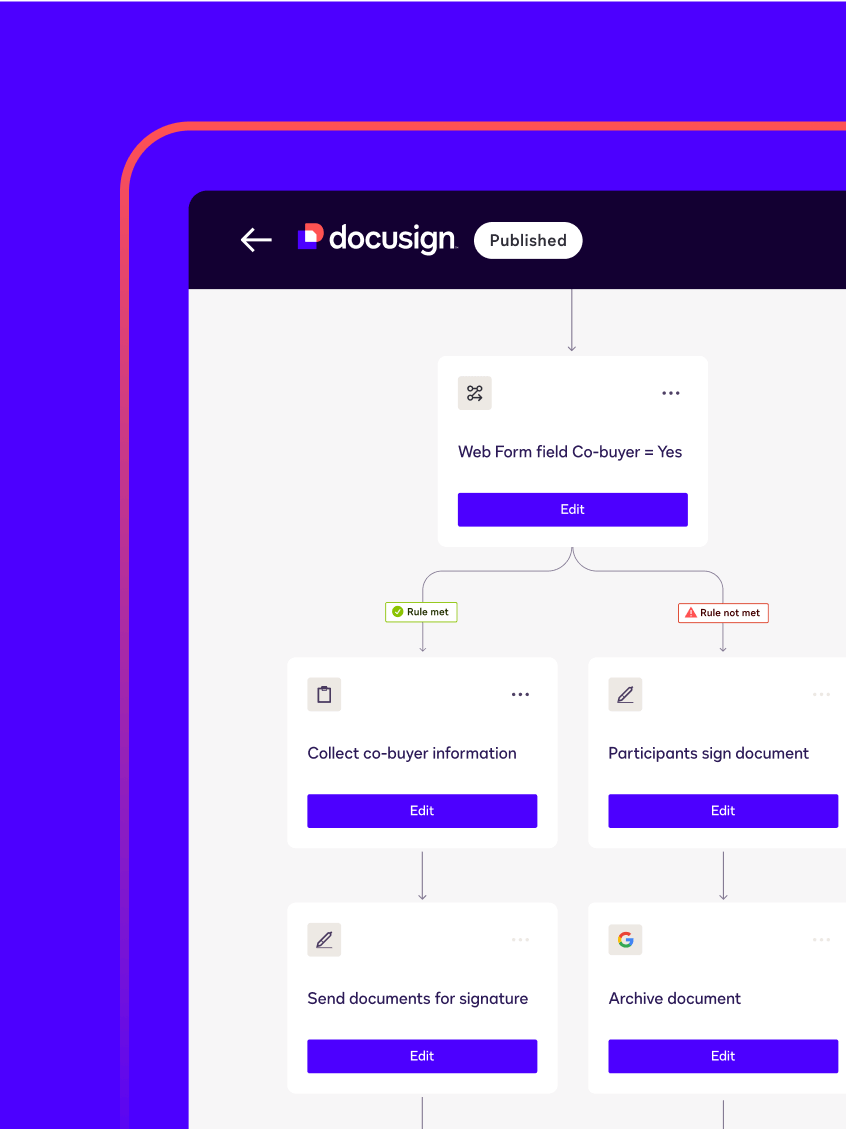 Power end-to-end processes
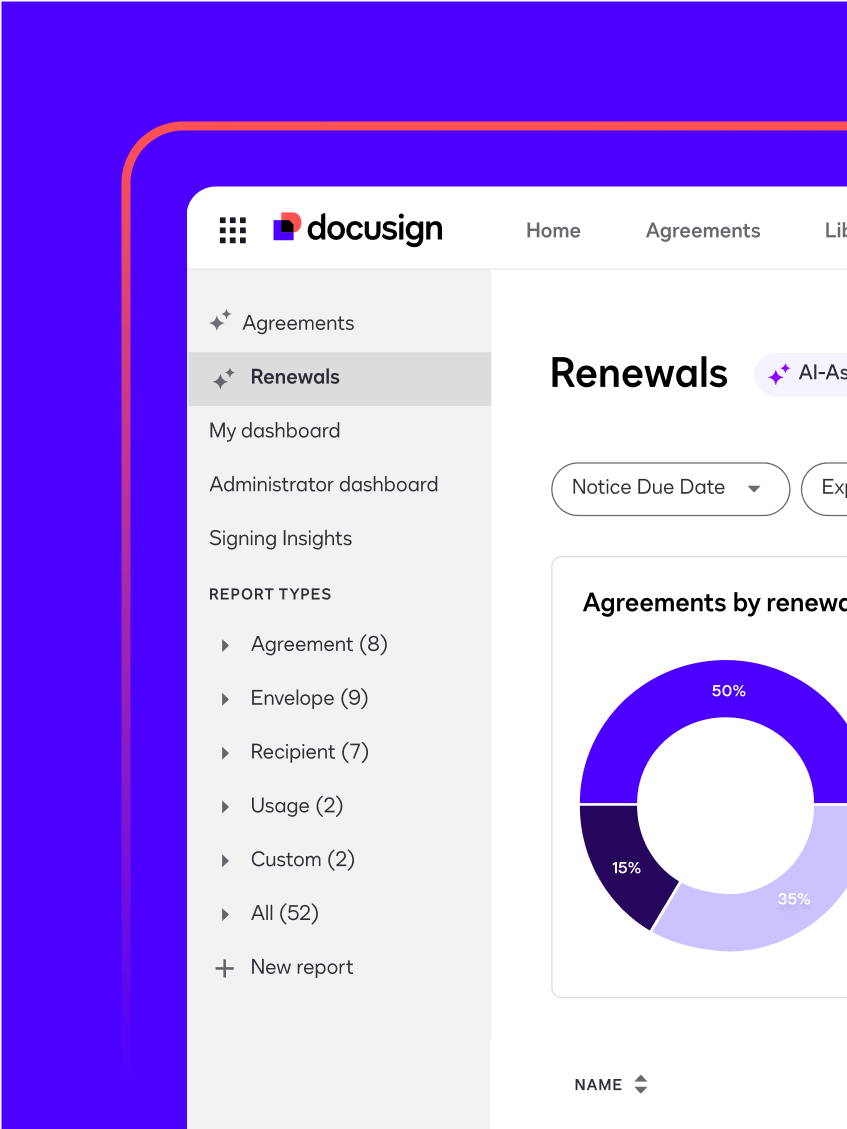 Uncover actionable insights
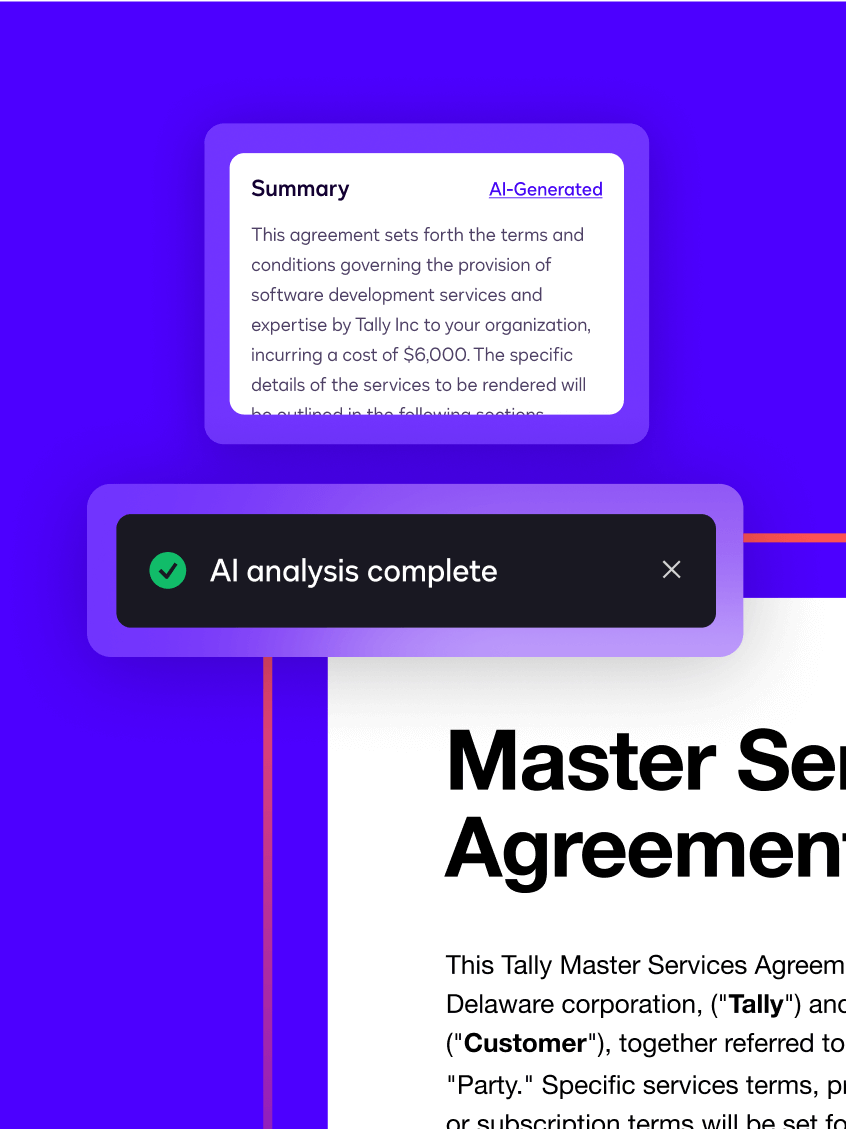 Enhance your process with agreement AI
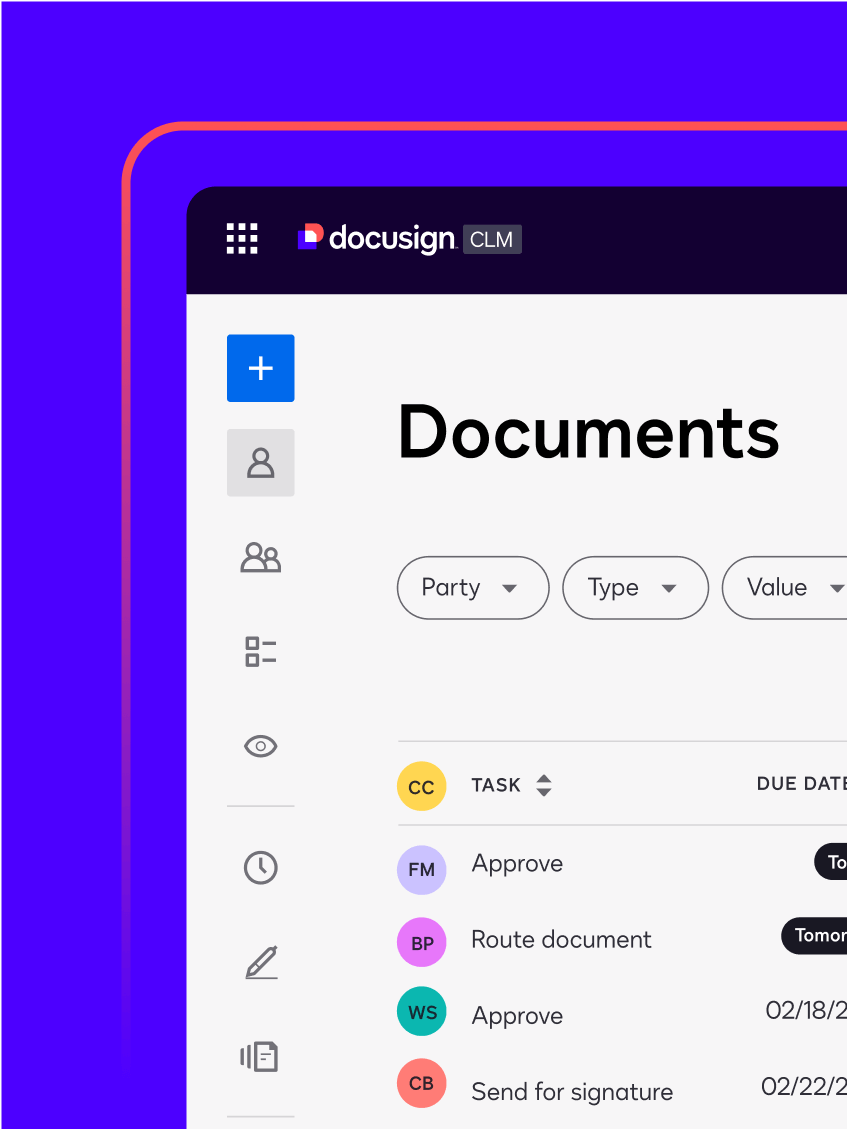 Automate your contract lifecycle
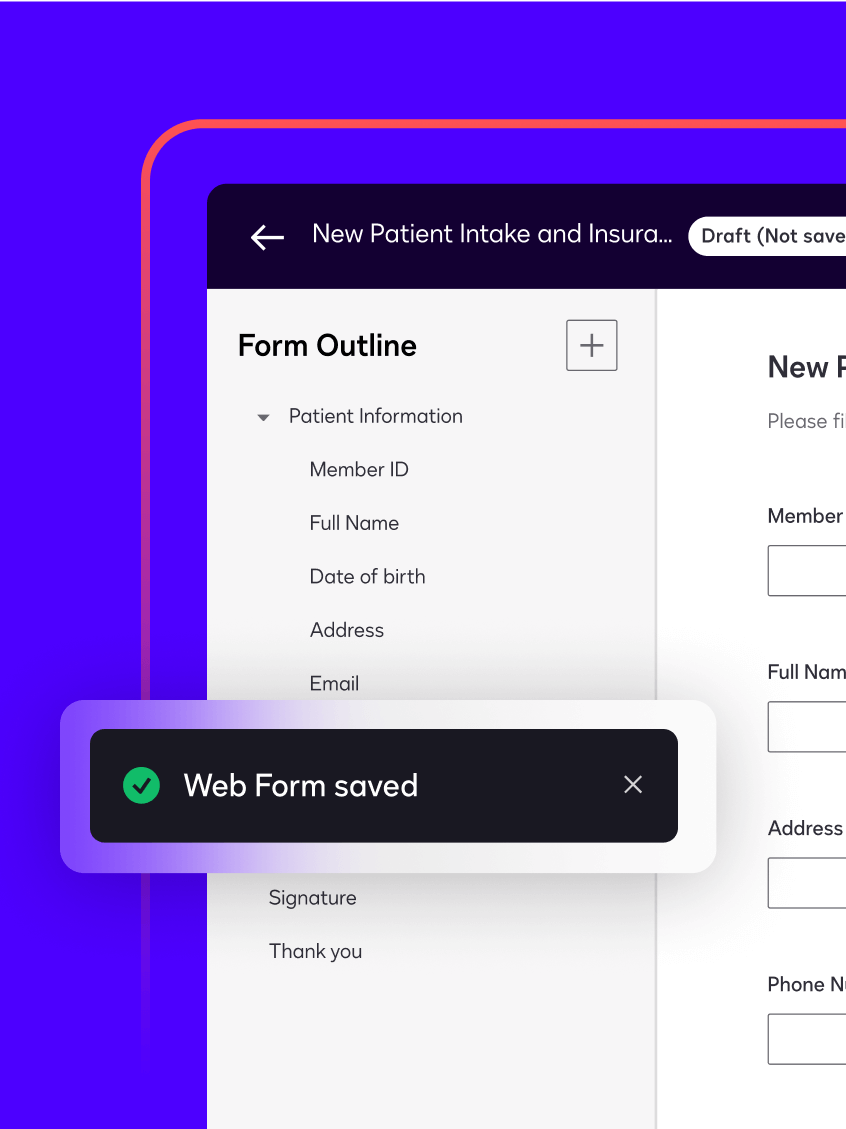 Gather data and populate agreements
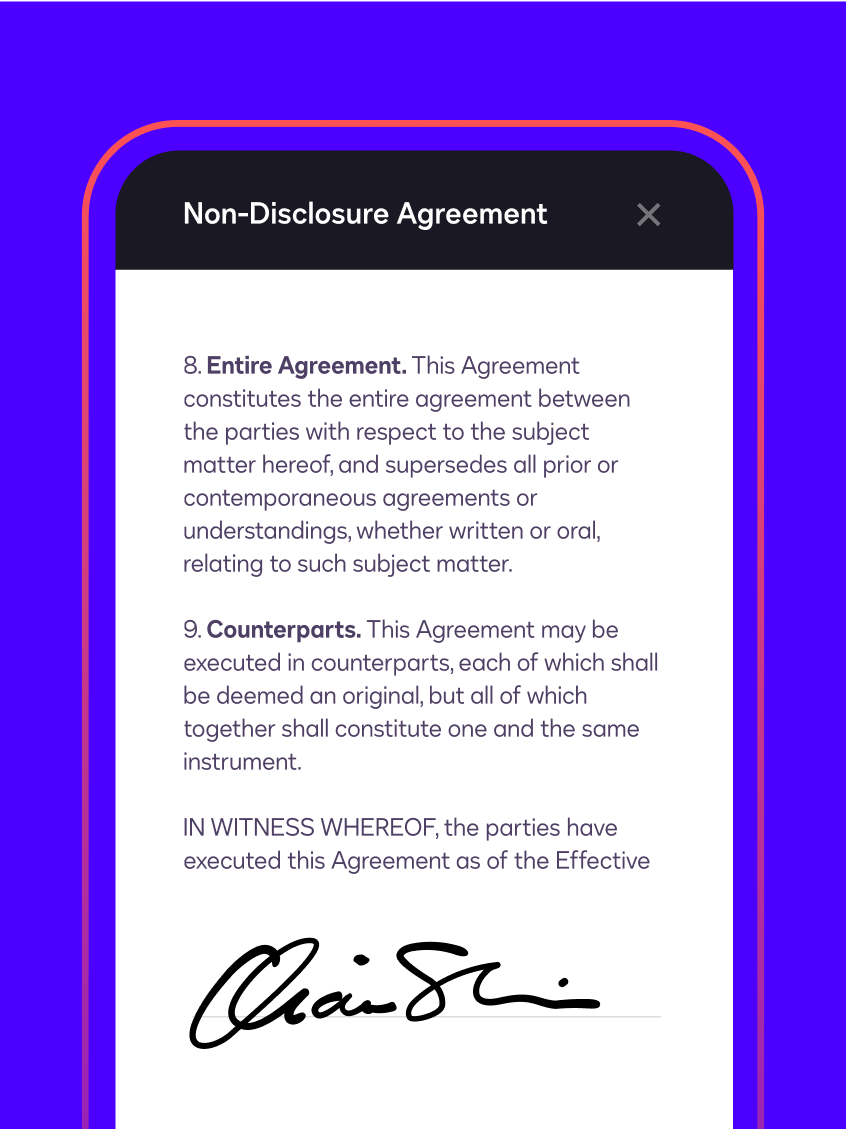 Send, sign, and track documents
Discover why Docusign IAM is the agreement solution your business needs
How organizations like yours do more with Docusign
- United Airlines
Developed seamless HR workflows that save time and give HR teams more visibility into processes
"We needed the process to be user friendly, legally immutable and trusted."

Stefan Josephson
Senior Manager of IT Application Development
- KORE Wireless
Turns around agreements 95% faster
00:00 - iCIMS
Improved contracting velocity for Sales and Legal teams
"CLM provides access to metrics we never had before."

Courtney Dutter
Deputy General Counsel and VP of Legal & Compliance
- Florida State University
Accelerated turnaround time on campus documents—from days to minutes
00:00 - Jägermeister
Standardized signing processes and improved security
00:00


Trusted worldwide
Our rigorous security and compliance standards are at the heart of all we do. We work tirelessly to protect the trust of you and your customers.
- +1.5 millioncustomers and over a billion users
- +180countries use Docusign to improve their agreement workflows
- 44languages available for signers, plus 14 for senders
- Millionsof transactions processed per day
Discover what's new with Docusign IAM or start with eSignature for free